You start an invoice in one of two ways: from the timesheet, with worked hours already in it, or empty from the invoice list. This is the route from the timesheet, the quickest one if you've already logged your hours.
Selecting hours
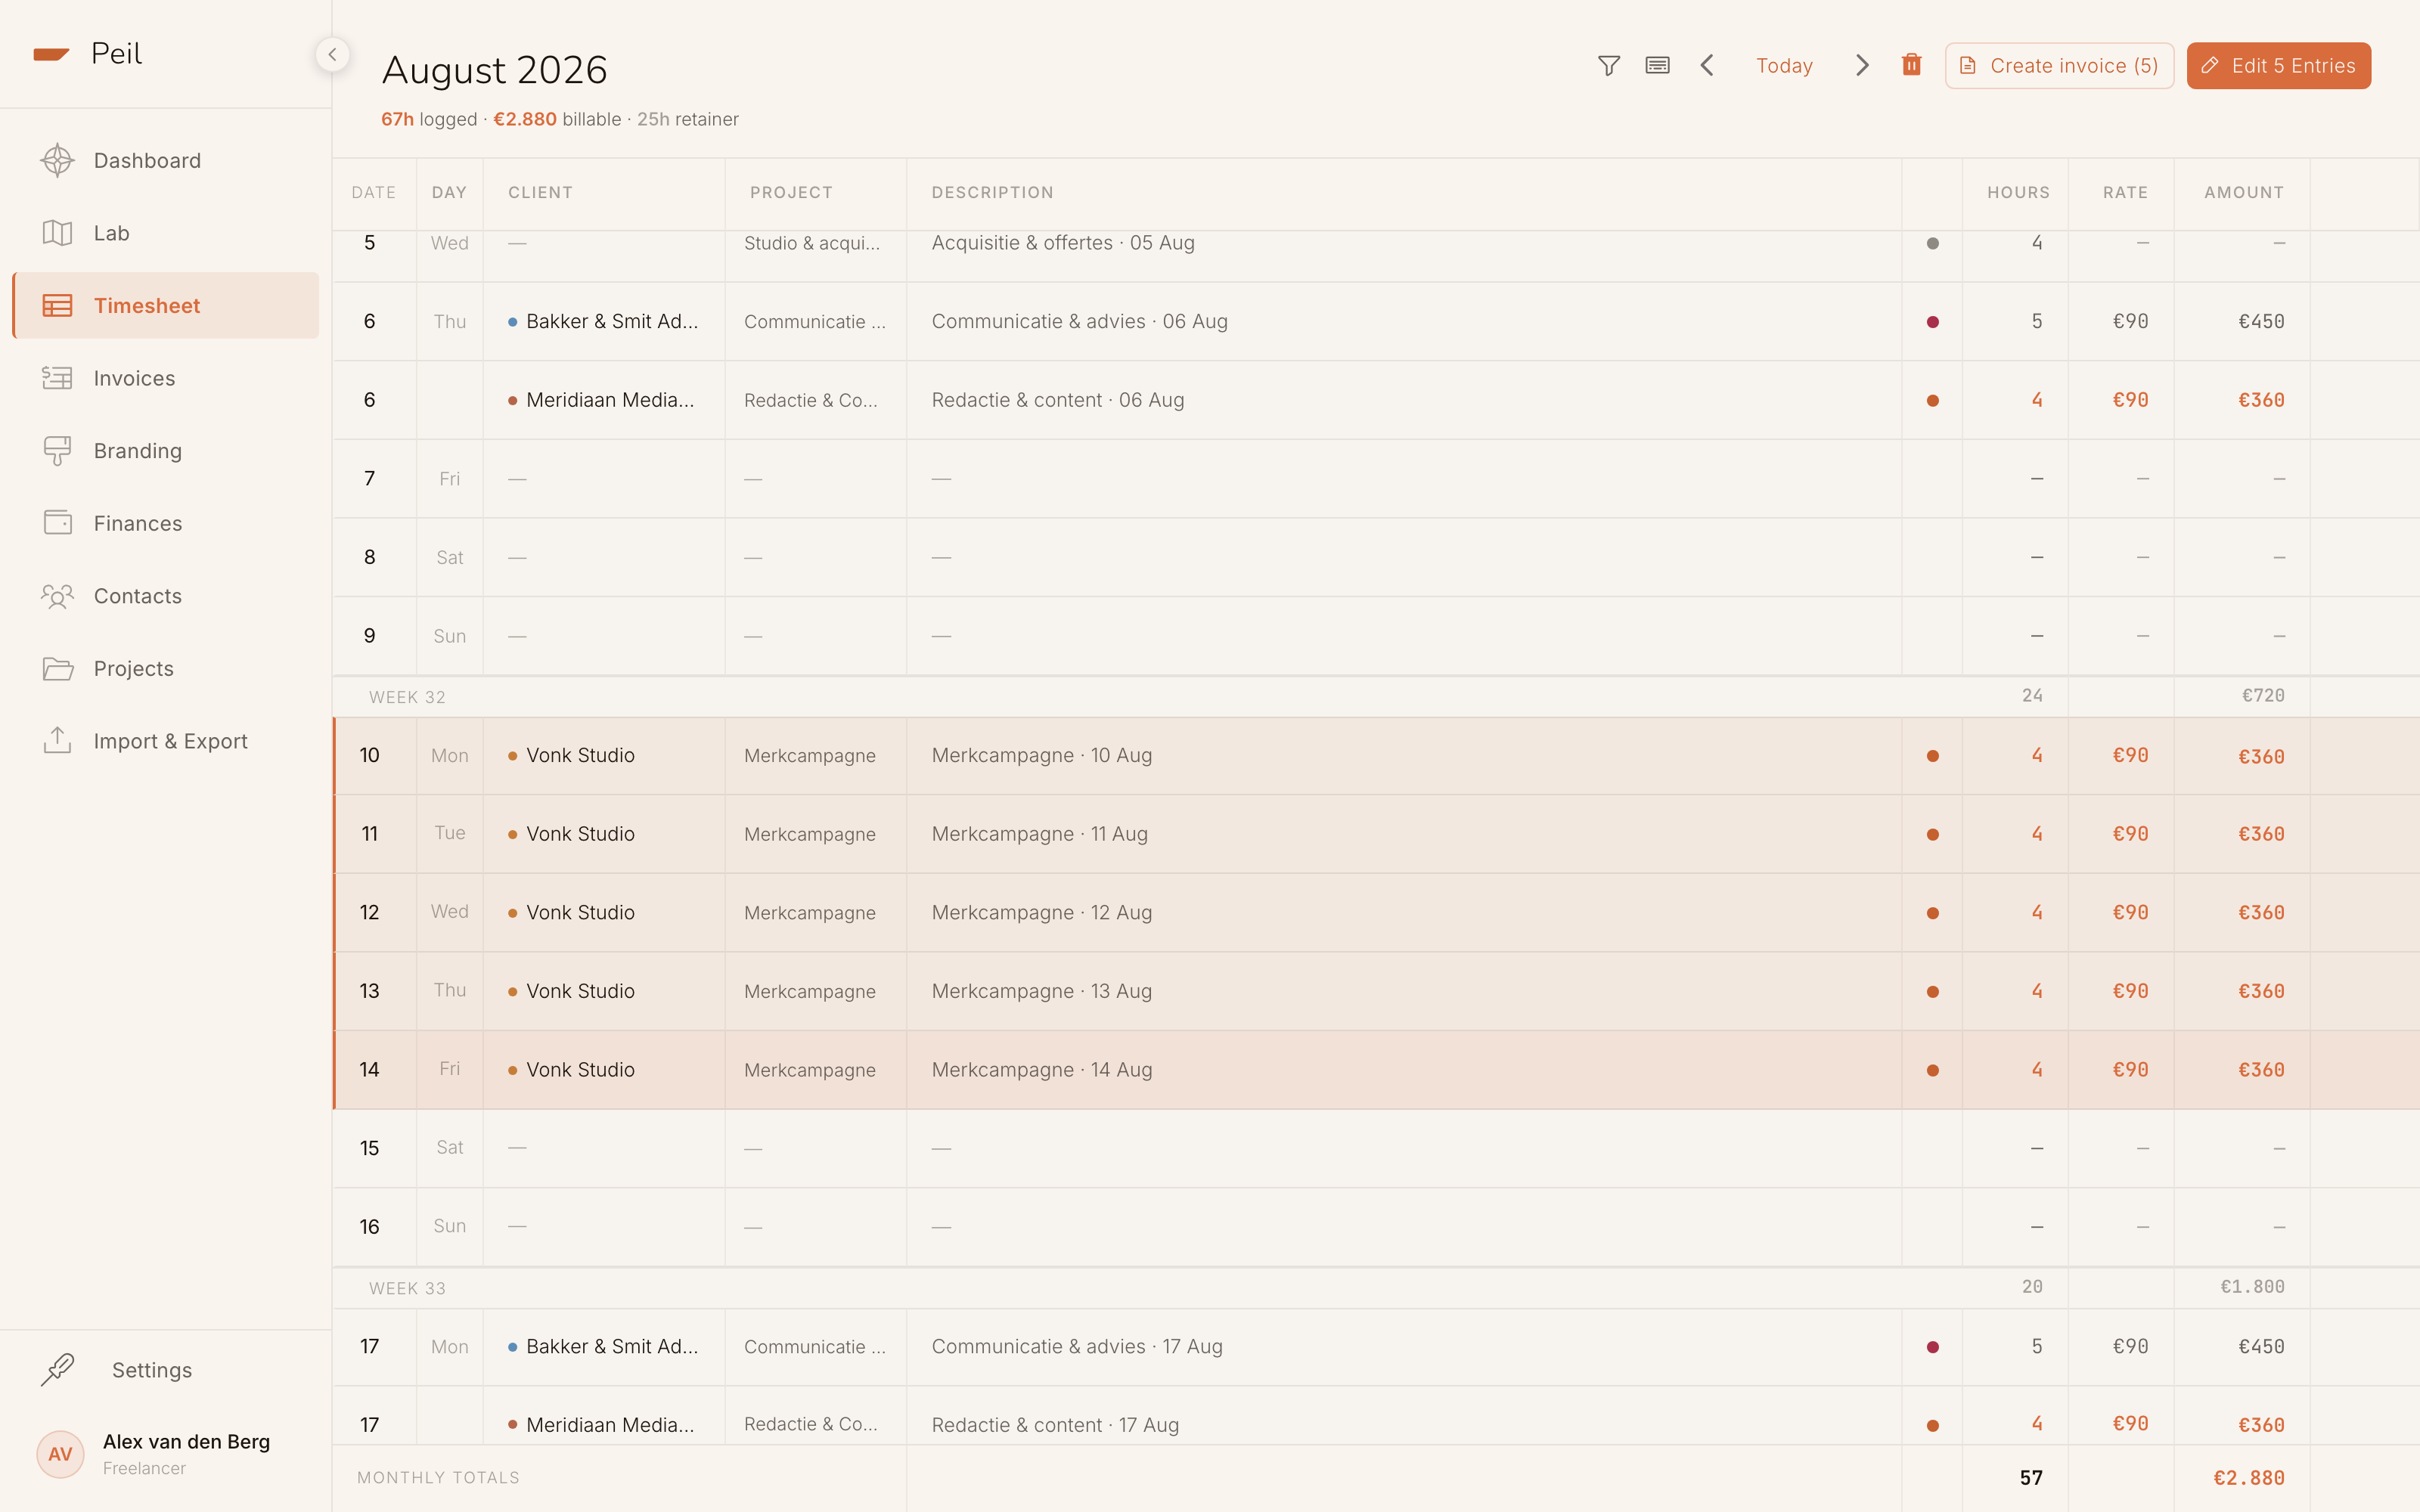
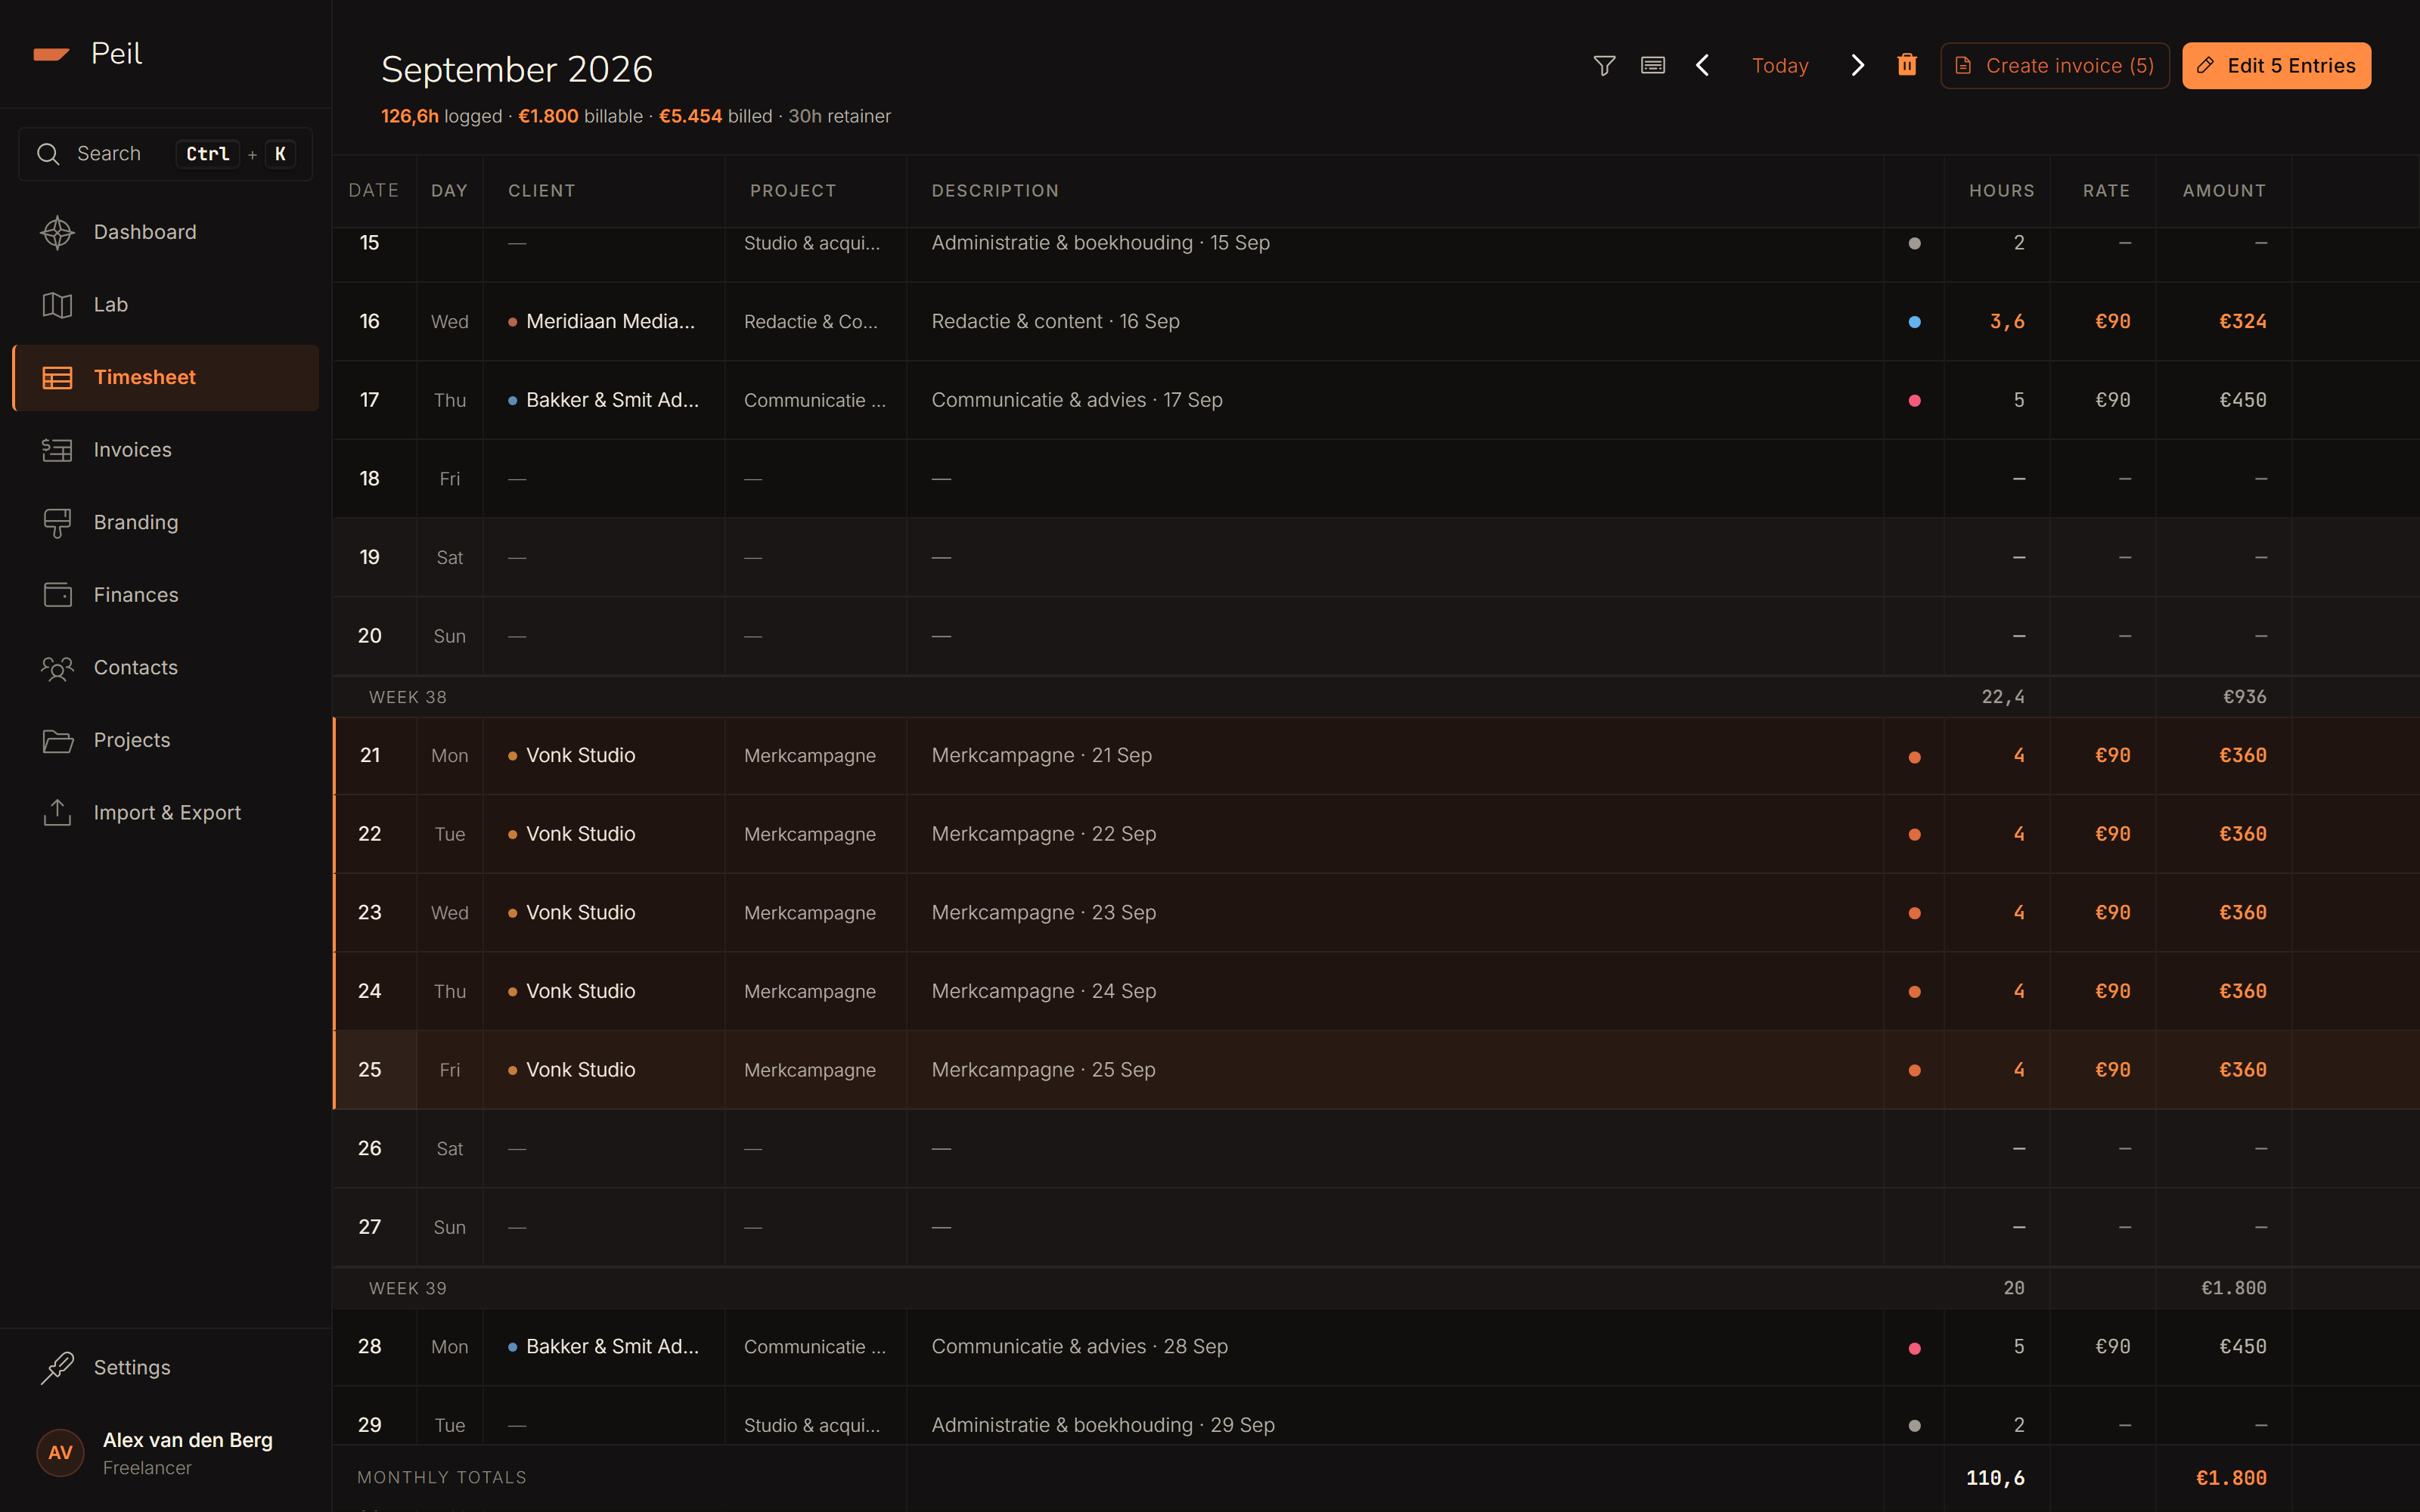
In the timesheet, select the billable hours for a single client (see also Tracking hours for range selection). Once everything is for the same client, the "Create invoice" button appears top-right.
The invoice editor
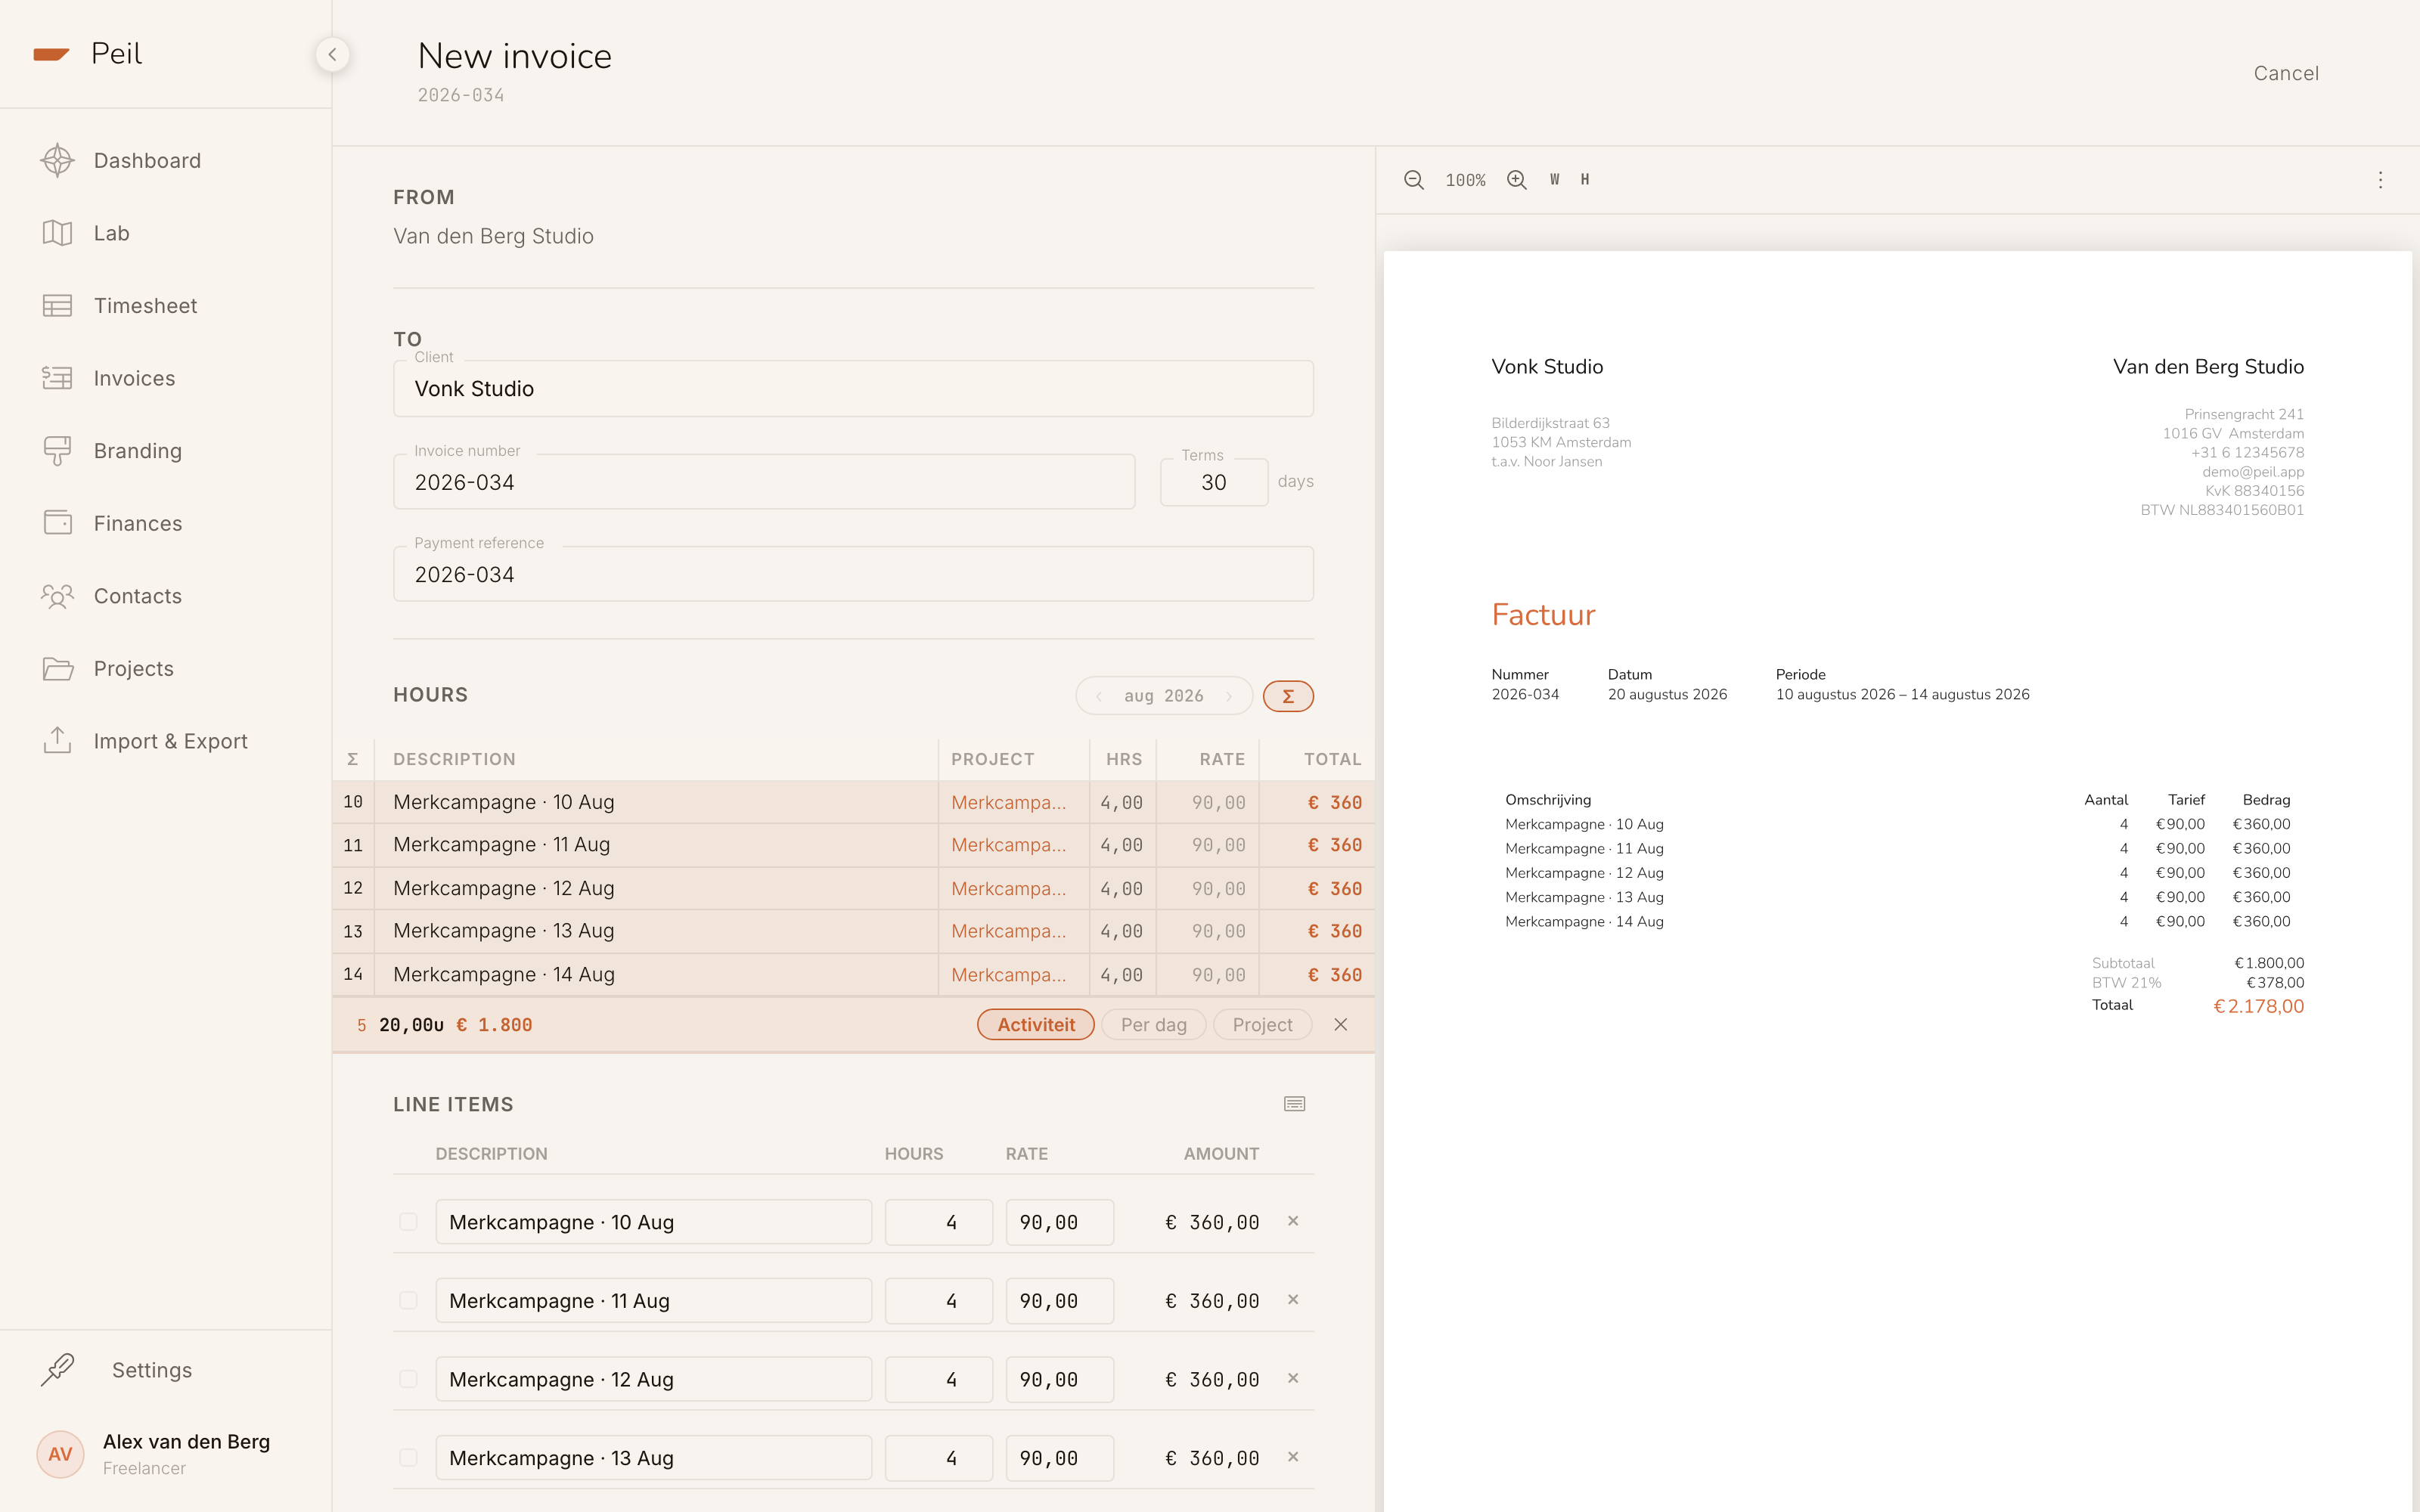
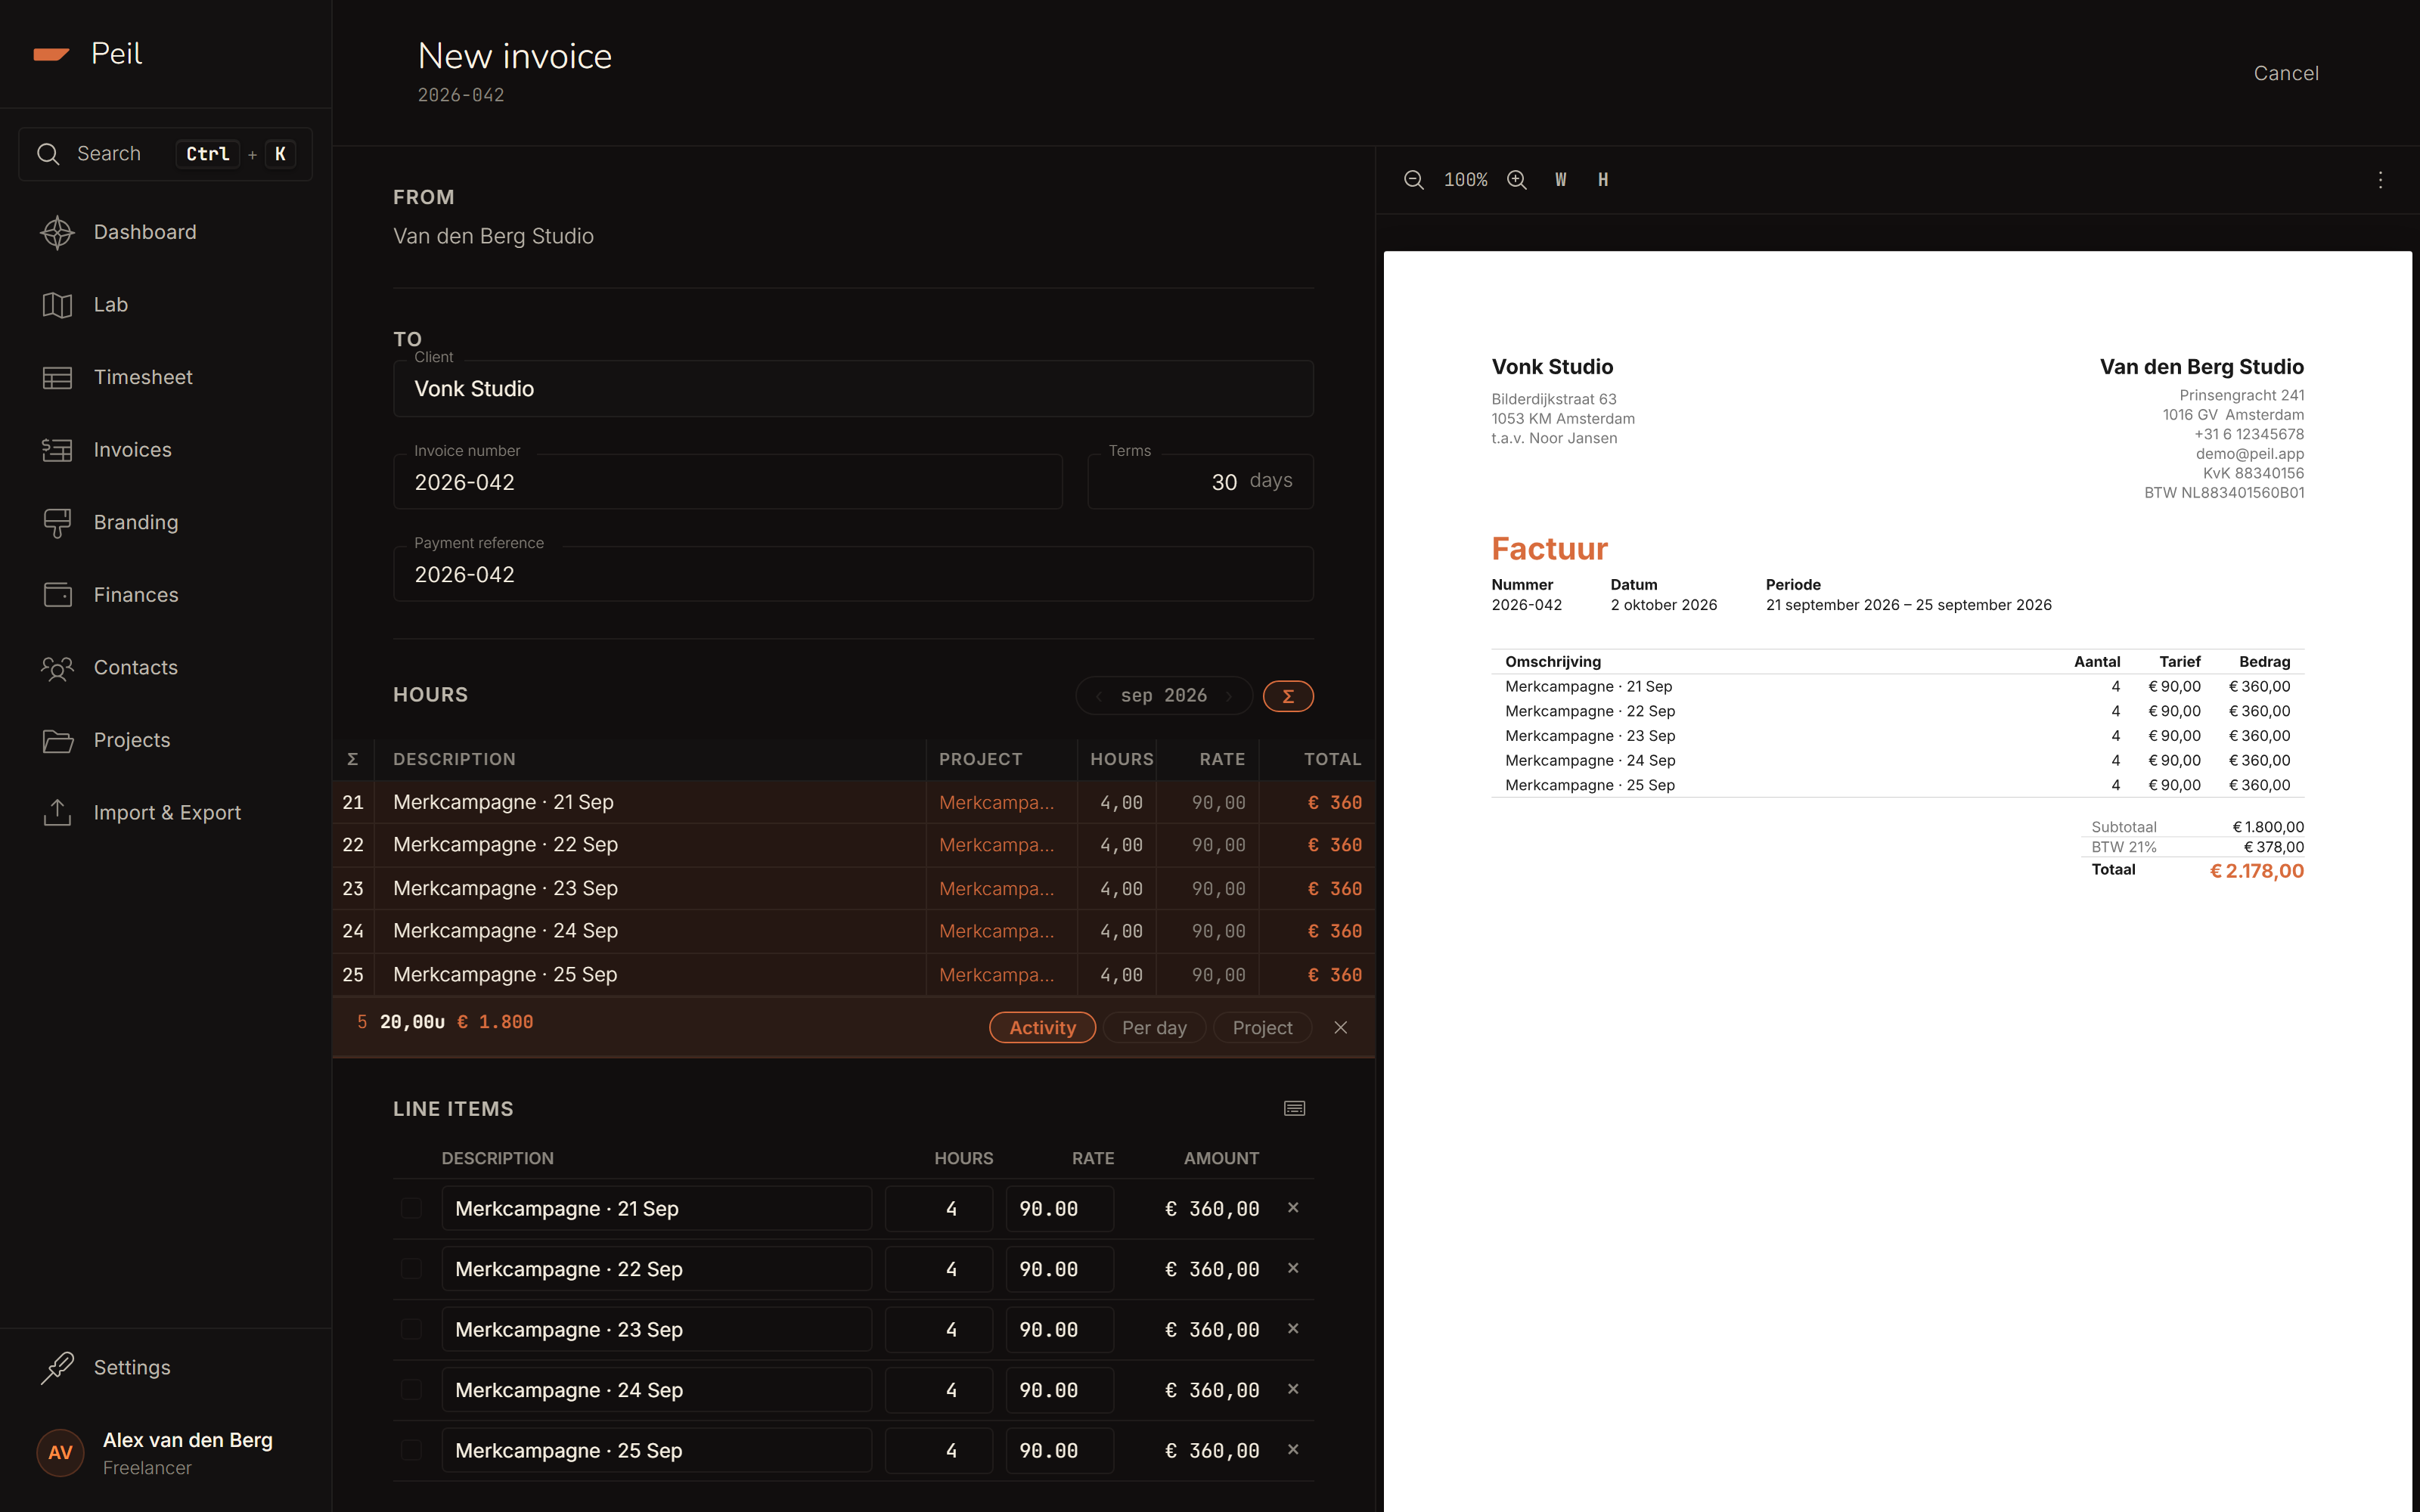
Peil opens the editor with the client, invoice number and payment term already filled in, and the selected hours turned into line items. On the right is the live PDF preview: every change appears within half a second in the document your client will receive.
Adjusting lines and saving
Below the hours are the line items: description, hours and rate stay editable, and you can add a line manually for something the timesheet doesn't cover. VAT defaults to 21%; see KOR if you have a VAT exemption.
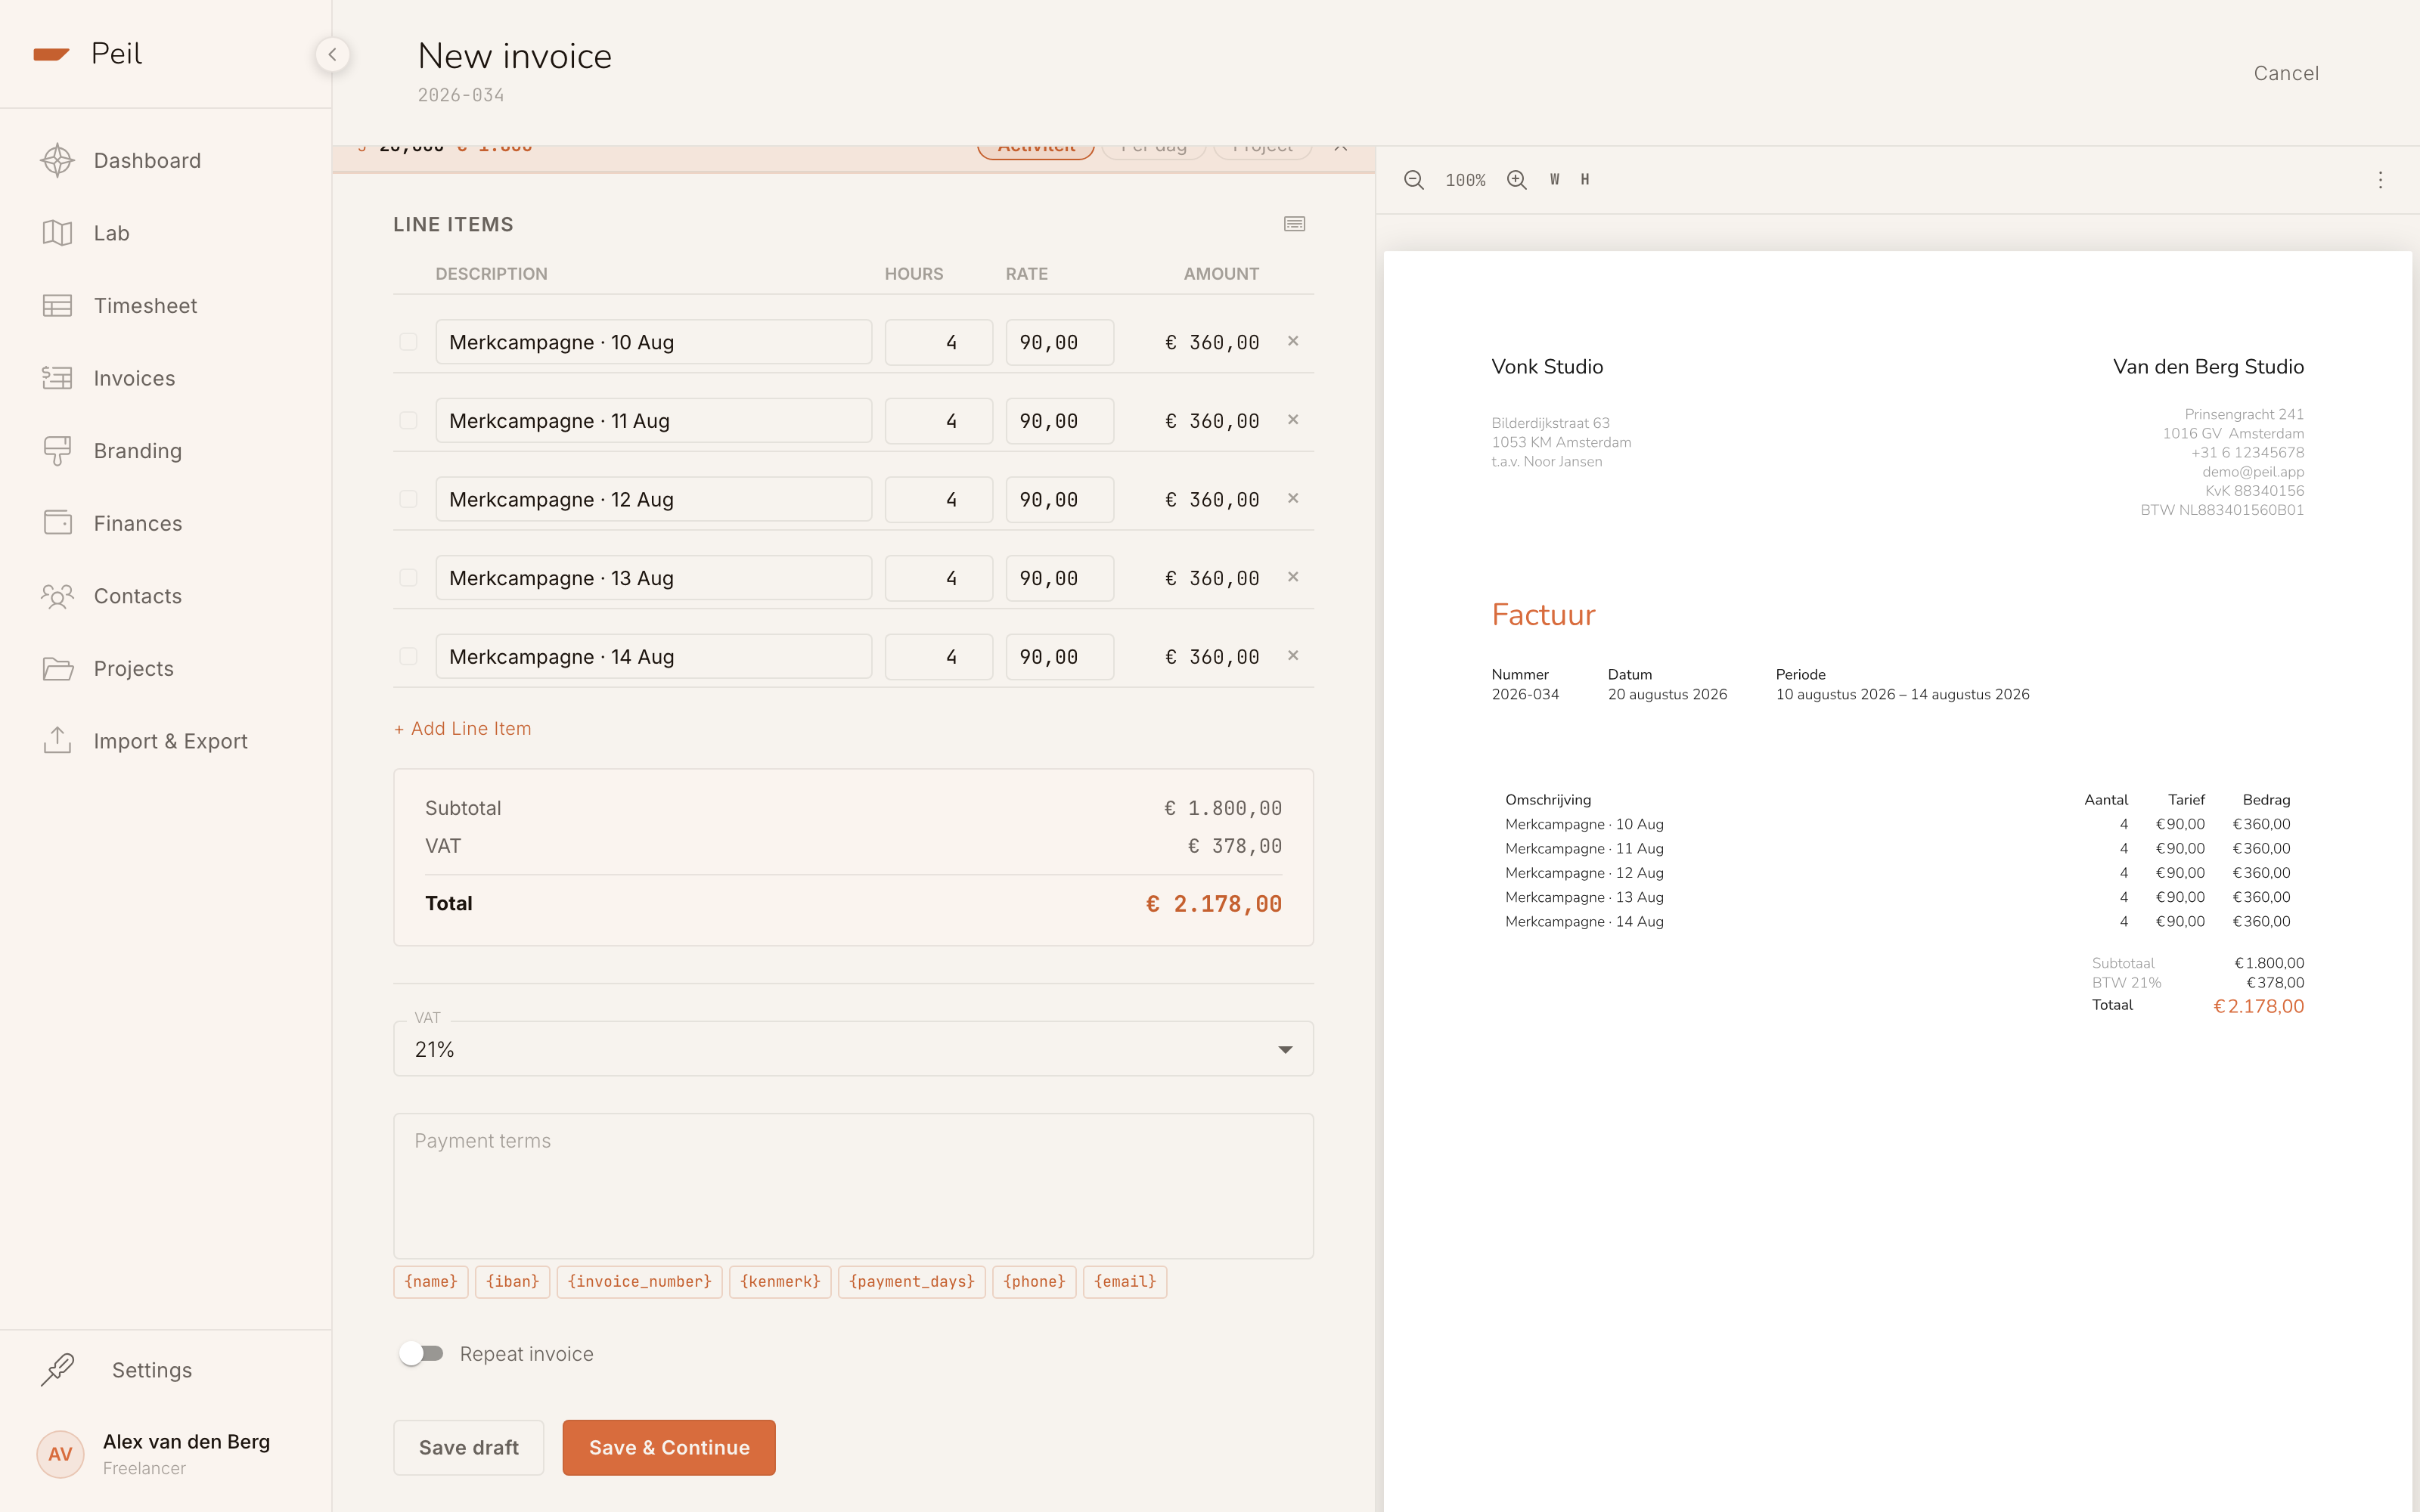
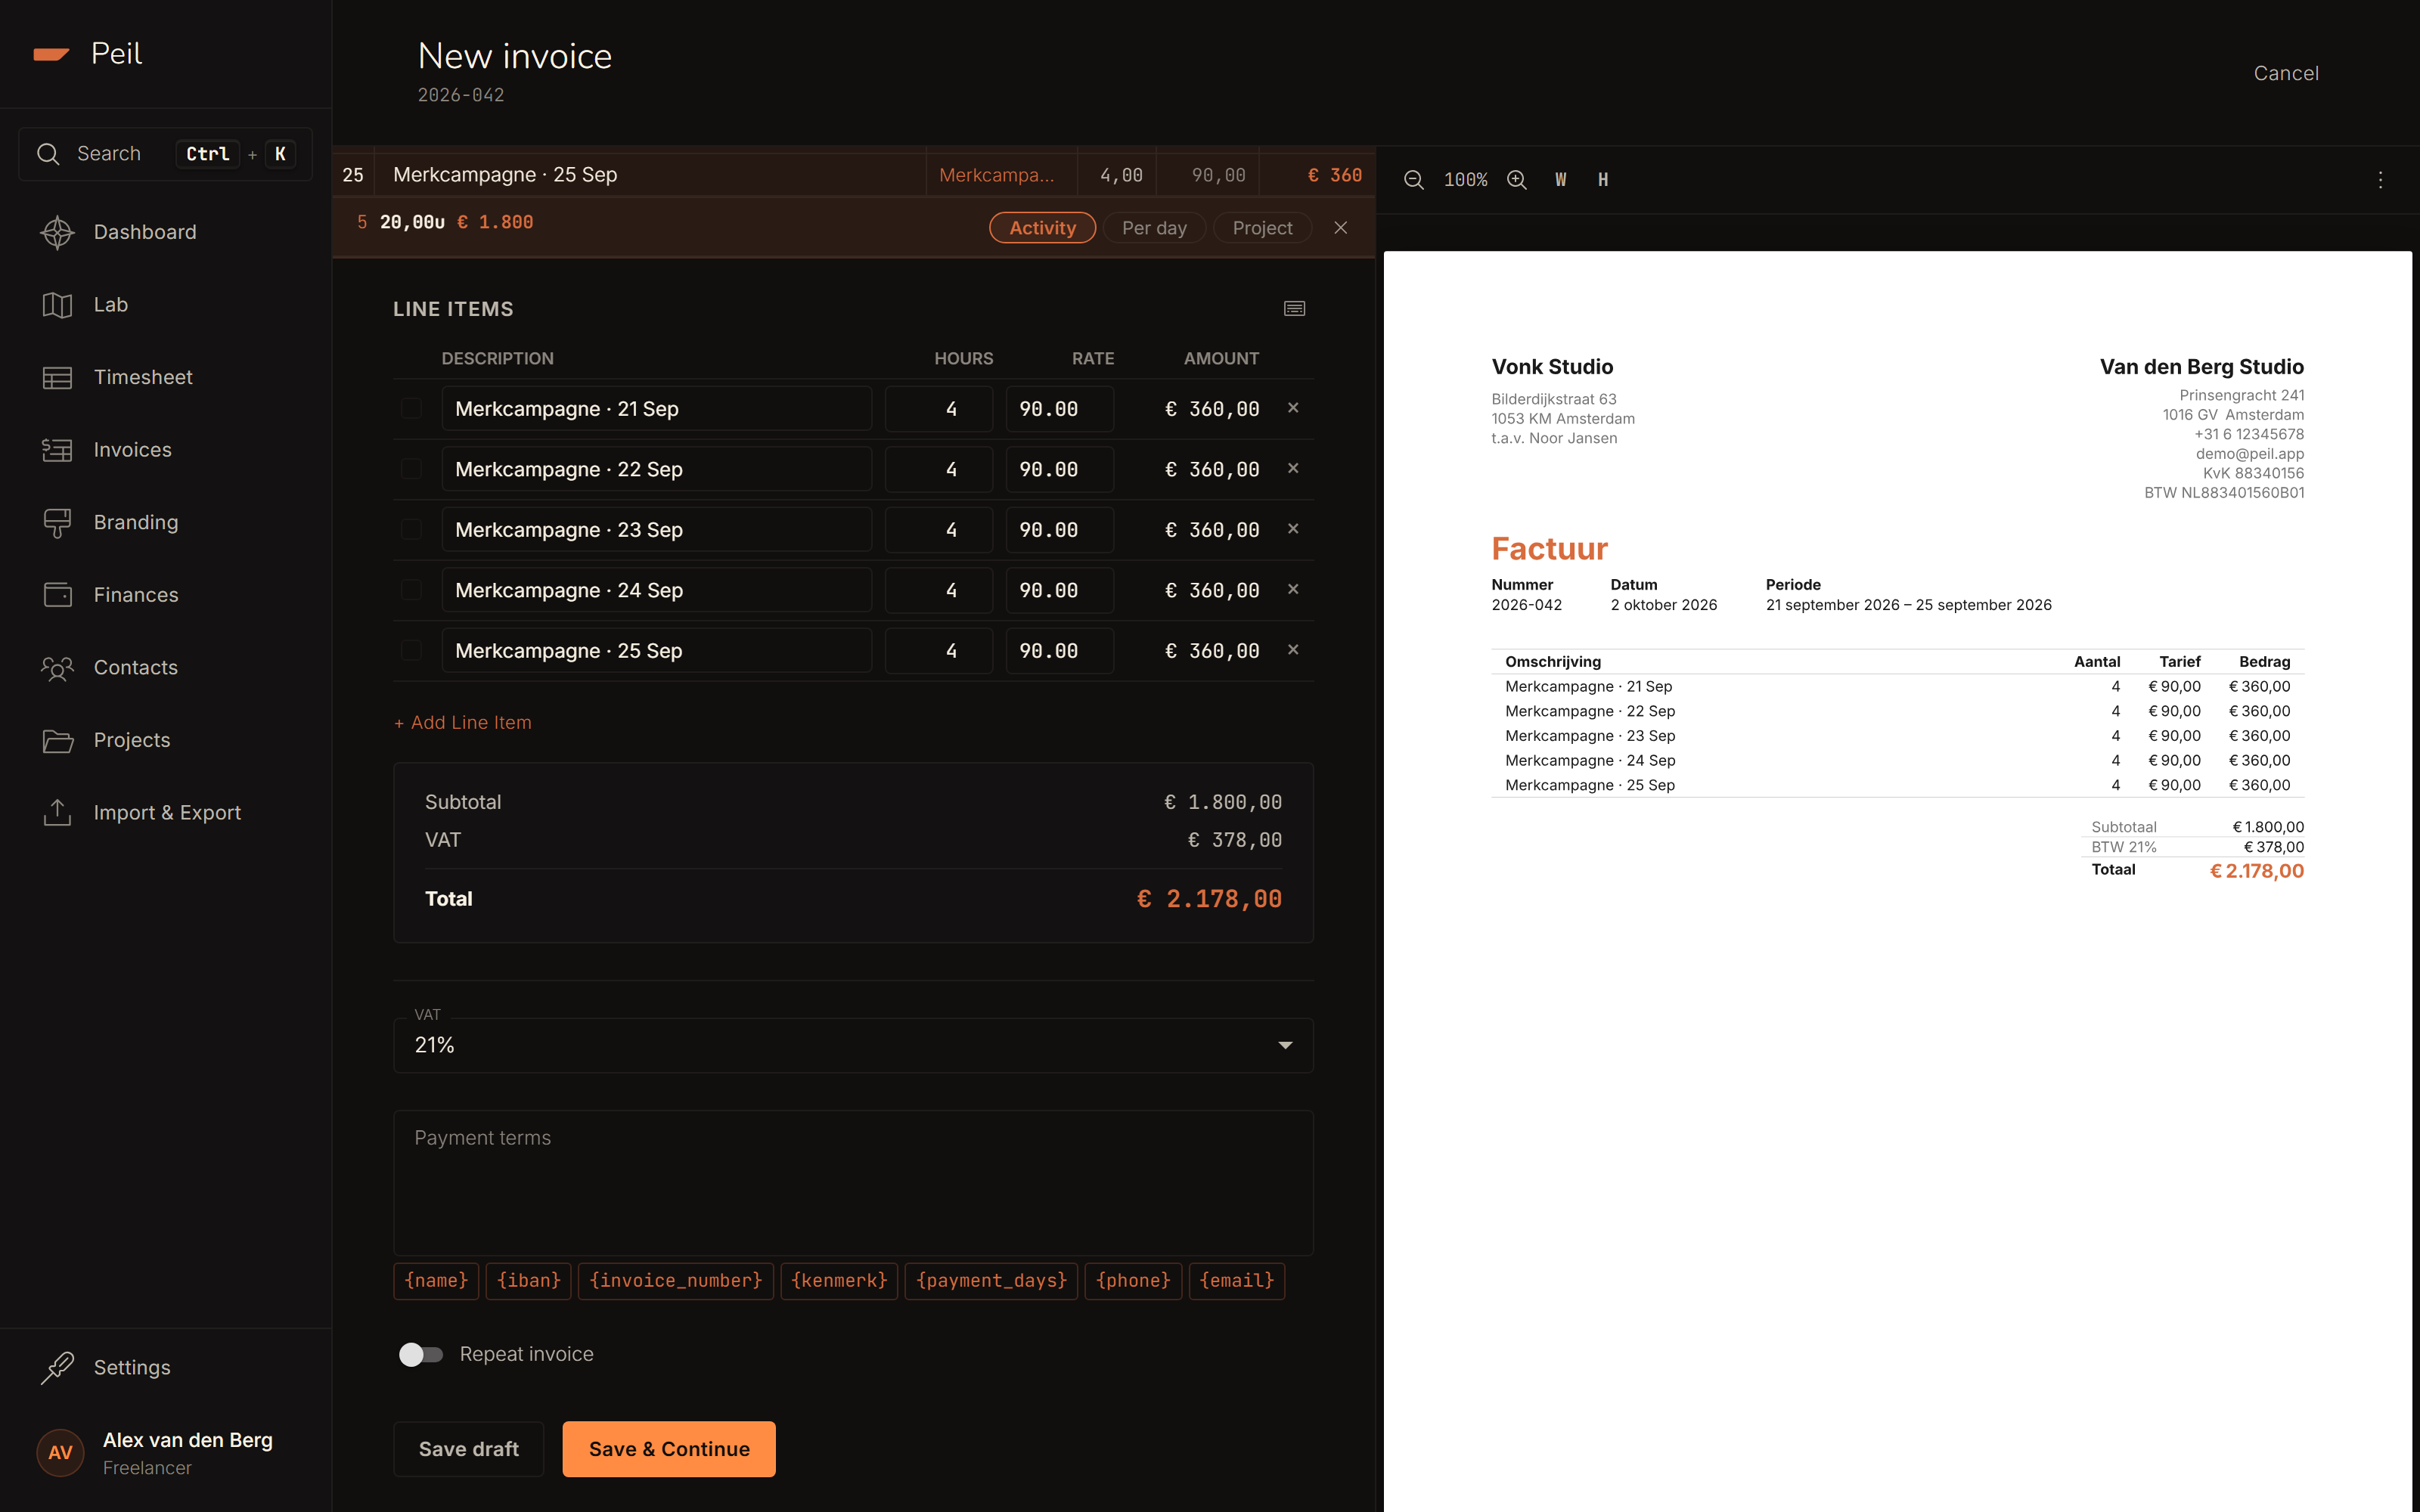
"Save draft" keeps the invoice and stays in the editor. "Save and continue" saves and opens the invoice page, where you send it.
Sending
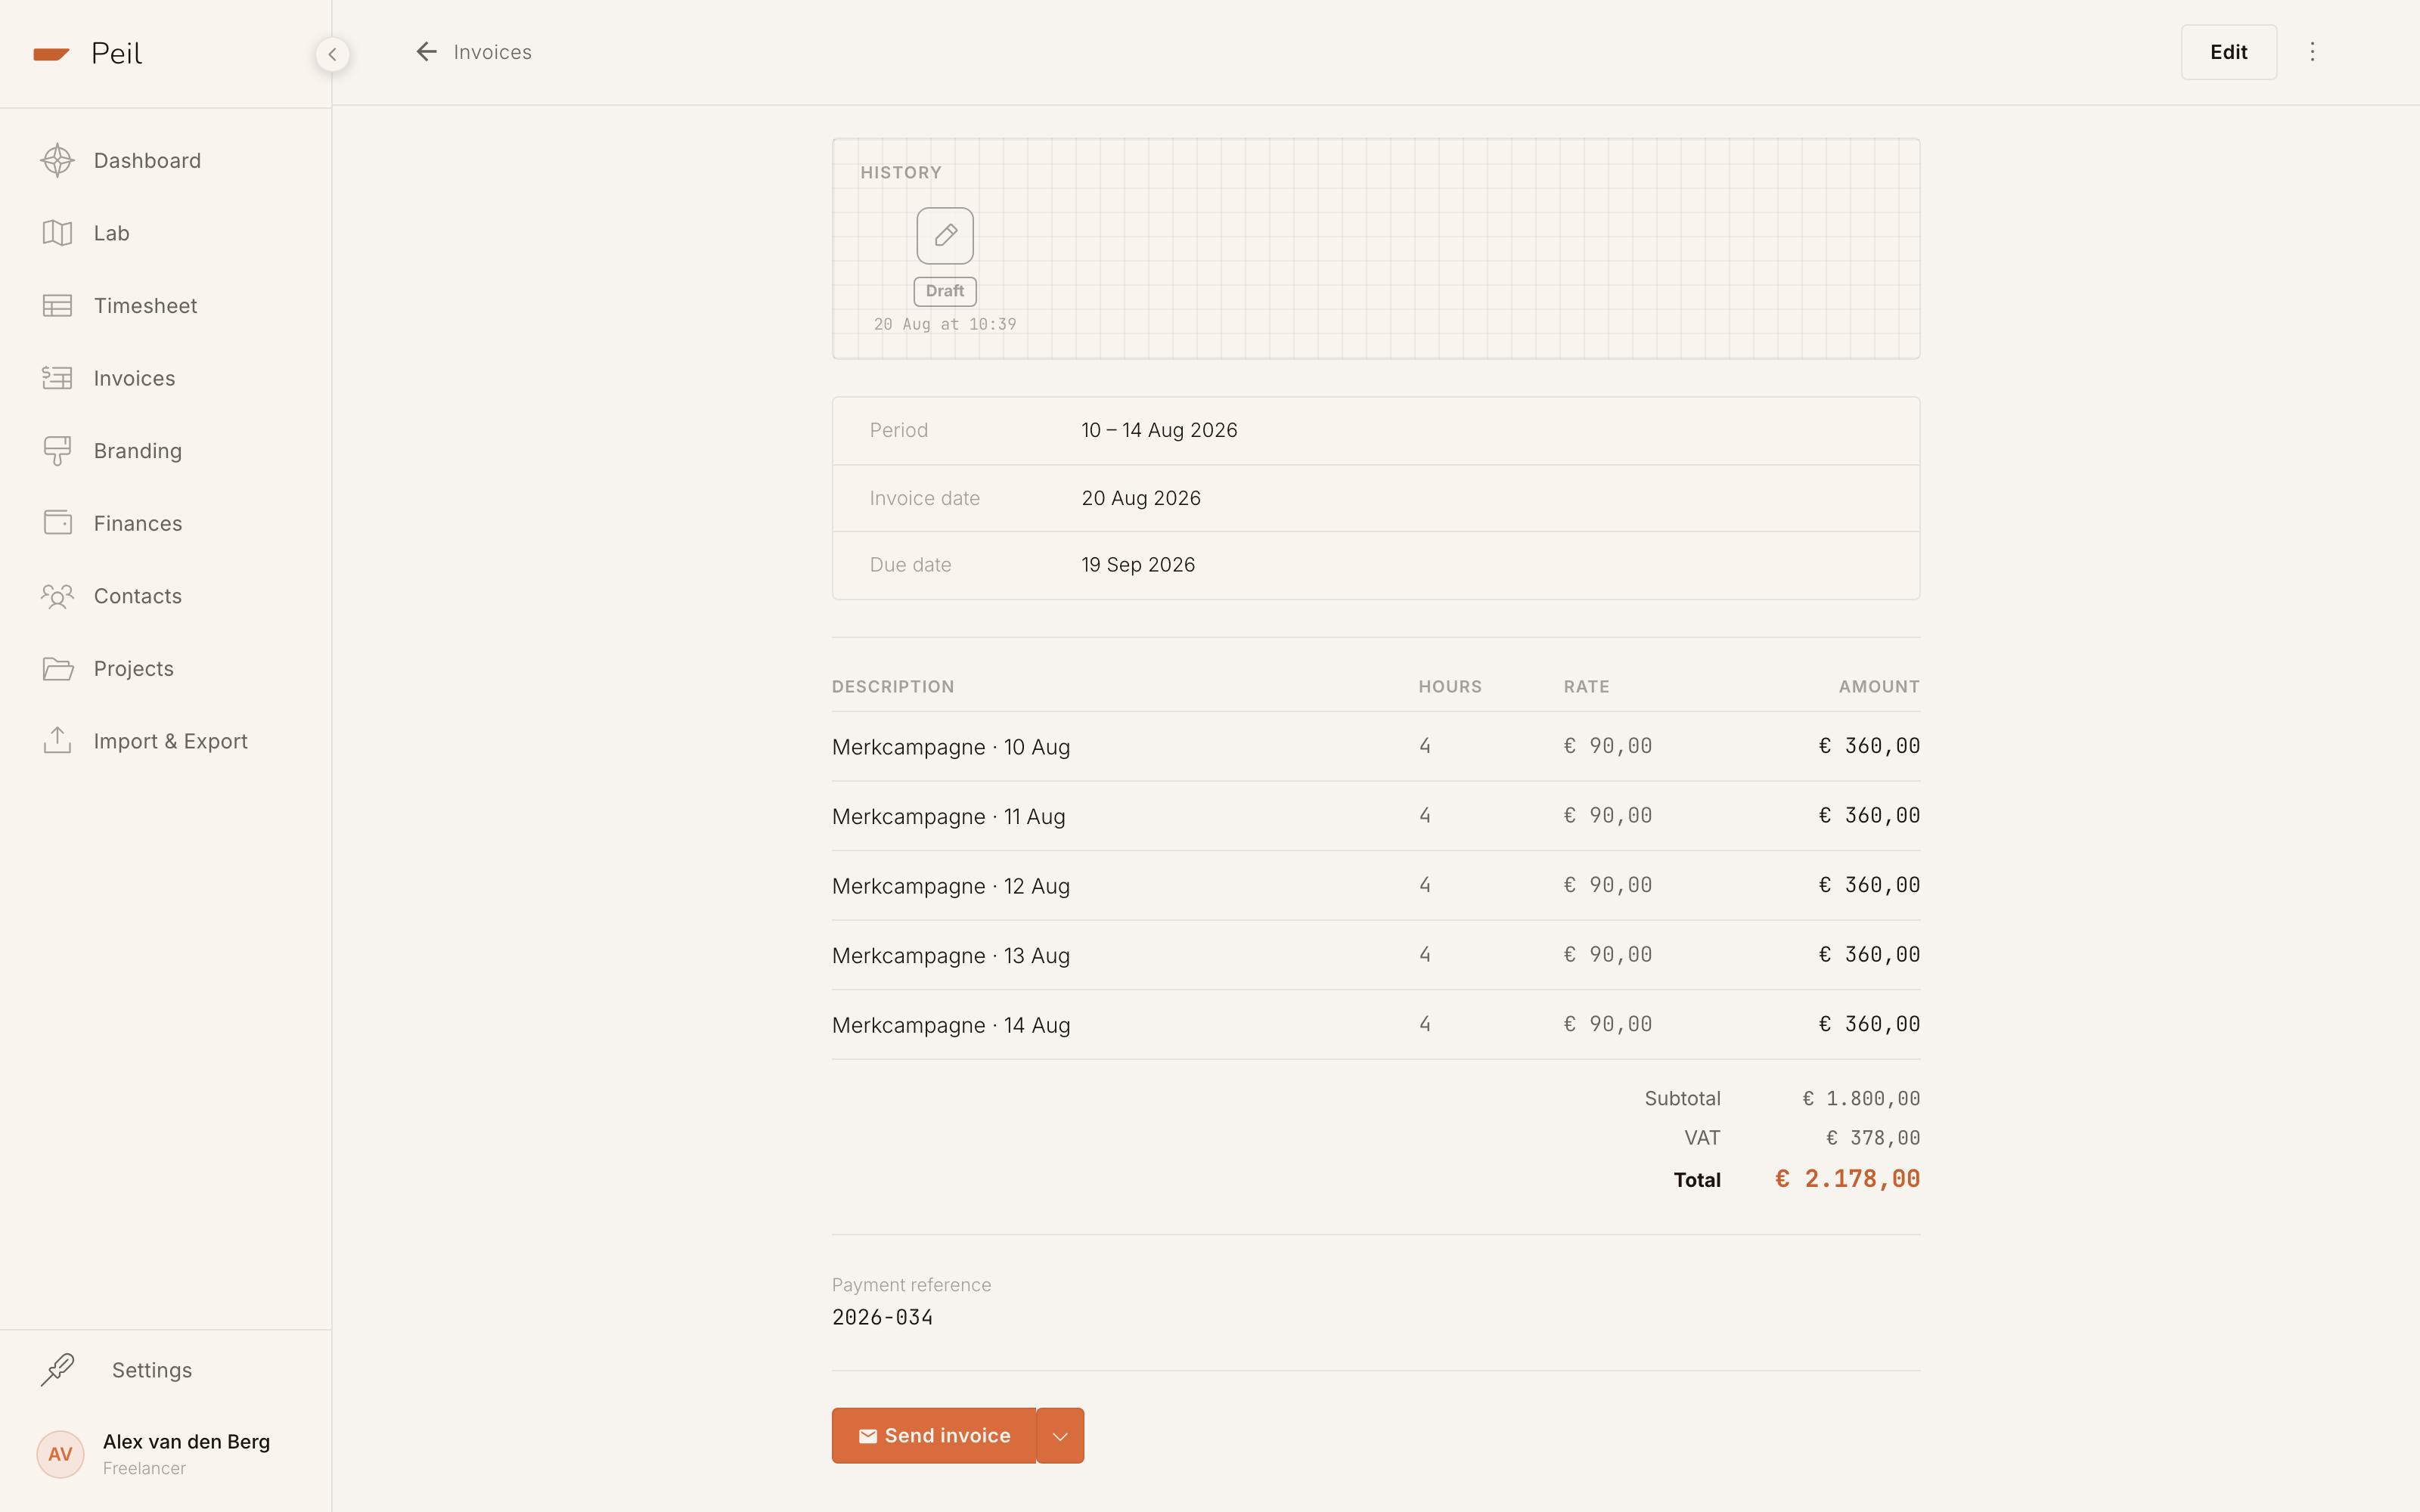
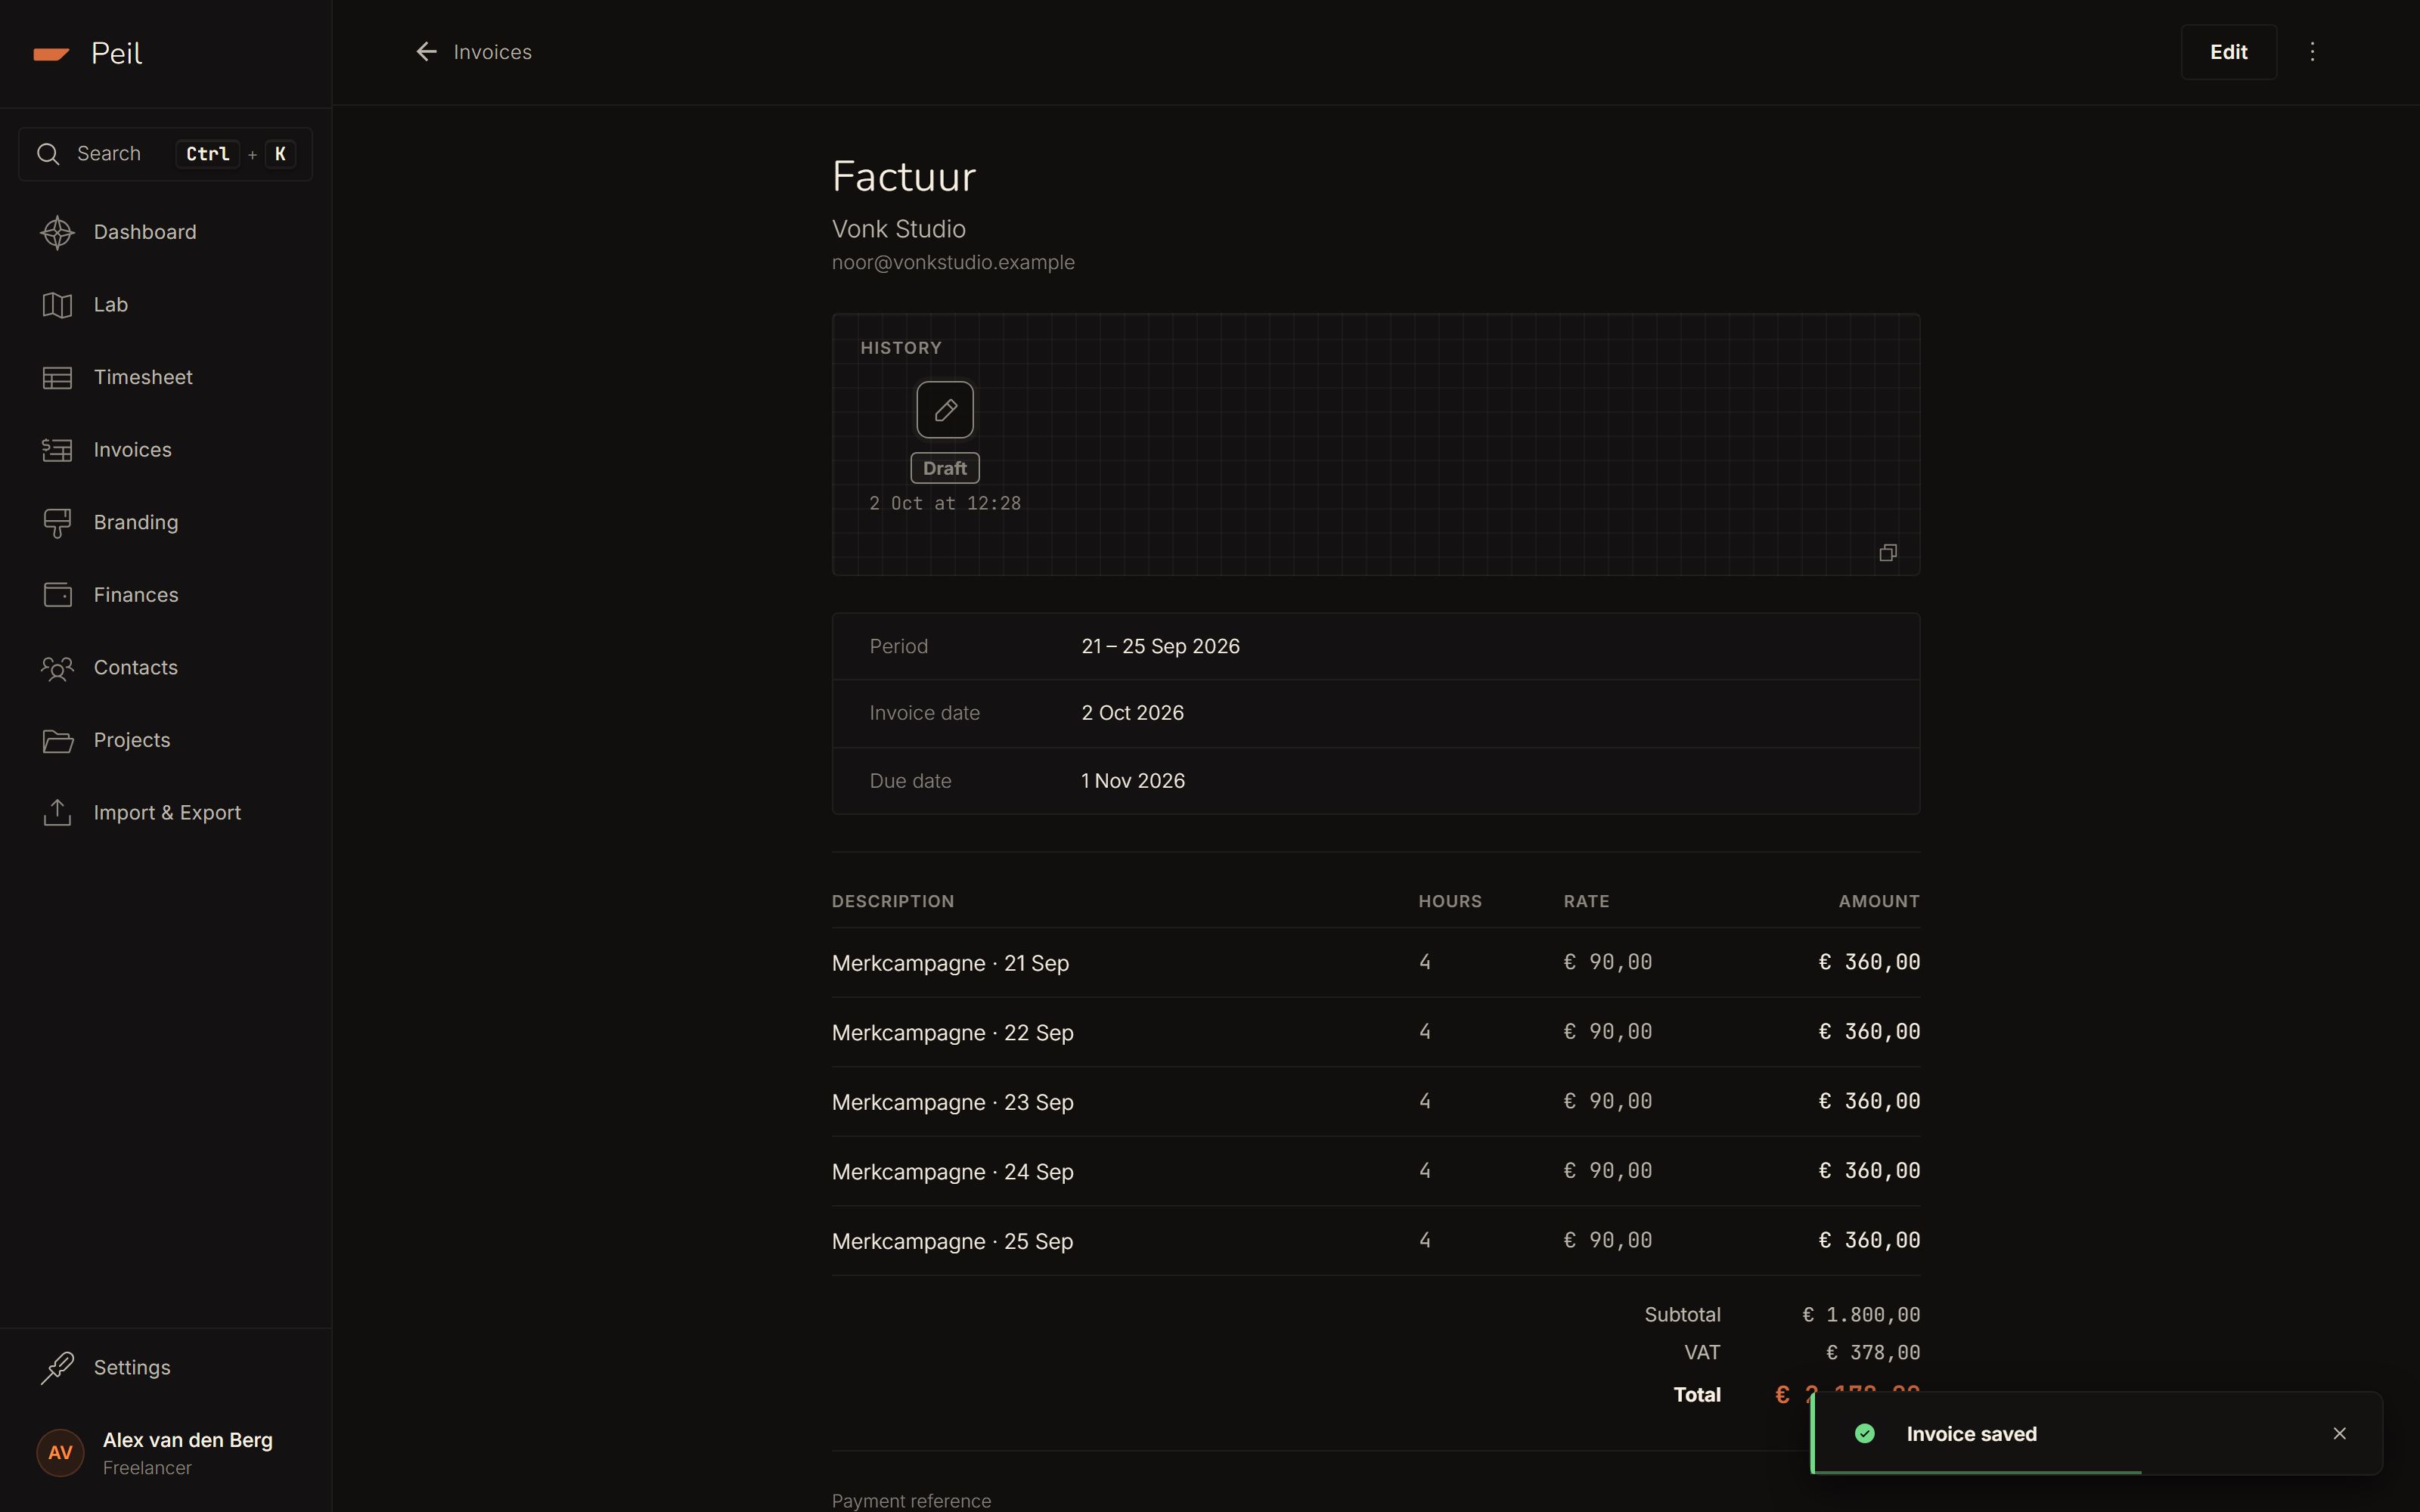
On the invoice page you send the invoice with the "Send invoice" button: Peil emails the PDF straight to your client. You immediately get a toast with an "undo" option that reverts the invoice to draft if you clicked too soon.
What happens next
Peil tracks what happens to the email and puts it in the History on the invoice page: delivered, overdue once the payment term has passed, and an automatic reminder as soon as that happens. Once you receive payment, you mark the invoice as paid.
See VAT and recurring invoices for VAT exceptions, setting up reminders and recurring invoices, and Designing invoices & your brand for how your invoices look.